
Decarboxylating Cannabis: Your Guide to the Full Effect of Your Buds!
Weed Wissen
You've got hold of some top-shelf cannabis (or grown it yourself), you're looking forward to a relaxed experience or want to create the base for potent edibles, then cannabis decarboxylation is your best friend! It sounds complicated at first, but it's the absolute key to unlocking the full potential of your flower. Without this step, a big part of the magic stays untapped, especially if you plan to use your weed for edibles or tinctures.
Many people ask: "Do I have to decarboxylate my weed even if I only need it for a cake?" The answer is a clear yes! Picture baking a cake with raw coffee beans, the aroma wouldn't be the same either, right? Here you'll learn everything you need to know to activate your cannabis and make sure your end product delivers exactly the effect you're after. We'll show you how to turn THCA into the coveted THC and why this process matters so much. Buckle up, it's going to be informative and surprisingly simple!
- What is decarboxylation? Your cannabis crash course (no boredom!)
- Why decarboxylate at all? The magic behind activation
- The best methods to activate your cannabis: which one is yours?
- Temperature and time: the secret ingredients for successful decarbing
- Decarb hacks: your tricks for less smell and better results
- Storing your activated treasure: keeping it fresh and potent
- Decarbed, now what? Creative ideas for your activated cannabis
- Careful, edibles! Effect, dosing and respect for time
- Frequently asked questions (FAQ) about cannabis decarboxylation
- Conclusion: decarbing made easy, your next level awaits!
Related products
What is decarboxylation? Your cannabis crash course (no boredom!)
Okay, let's get down to it: what exactly happens during decarboxylation? In fresh, raw cannabis, most cannabinoids, like the well-known THC (tetrahydrocannabinol) or CBD (cannabidiol), aren't present in their active form. Instead you'll find their acidic precursors, mainly THCA (tetrahydrocannabinolic acid) and CBDA (cannabidiolic acid). These "A" forms aren't useless and have interesting properties of their own, but they aren't psychoactive (in the case of THCA) or don't produce the same range of effects as their activated counterparts.
Decarboxylation is a chemical process triggered by heat. In it, a carbon dioxide molecule (CO₂) is split off from the cannabinoid acid, hence the name "de-carboxylation". Through this clever trick of nature (or your kitchen!), the non-psychoactive THCA turns into psychoactive THC, which is responsible for the typical "high". Similarly, CBDA is converted into CBD, prized for its varied, non-intoxicating properties. Put simply: heat turns "sleeping" compounds into real powerhouses!
Why decarboxylate at all? The magic behind activation
Now you might be wondering: "Why go to all this effort when I can just smoke or vape my weed?" Good question! And here's the answer:
- When smoking or vaping, decarboxylation happens automatically. The high heat of the flame or the heating element in the vaporizer instantly converts THCA into THC before you inhale it. So there's no need to prep in advance here.
- For edibles, tinctures, oils or capsules, however, prior cannabis decarboxylation is essential. If you just mix raw cannabis into your brownie batter, barely any psychoactive effect will develop, because the heat and time needed for a full conversion often aren't sufficient or are uneven during baking. You'd be throwing away valuable potential.
- Maximum potency and effect: through controlled decarbing, you make sure you get the most active THC (or CBD, depending on your goal) out of your material. That means more reliable and stronger effects.
- Better absorption in the body: activated cannabinoids can be processed better by the body when taken orally.
In short: if you want to feel the full range of cannabis effects in your homemade creations, there's no way around decarboxylating your weed. It's the difference between a light breeze and a real hurricane of effects.
💡 DECARB CHEAT SHEET #1: the essentials in brief
- What? Decarboxylation is the activation of cannabinoids (e.g. THCA into THC) through heat.
- Why? Necessary for the full effect in edibles, oils and tinctures. When smoking/vaping it happens automatically.
- Result? Maximum potency and reliable effects from your cannabis products.
The best methods to activate your cannabis: which one is yours?
There are several ways to decarboxylate your cannabis. Each method has its own strengths and quirks. We'll introduce the most common and effective ones so you can find the perfect technique for your needs and your equipment.
The classic: decarboxylating cannabis in the oven, how to do it right!
Decarboxylation in the oven is probably the most widespread and accessible method. It's relatively simple and needs no special equipment you don't already have in your kitchen.
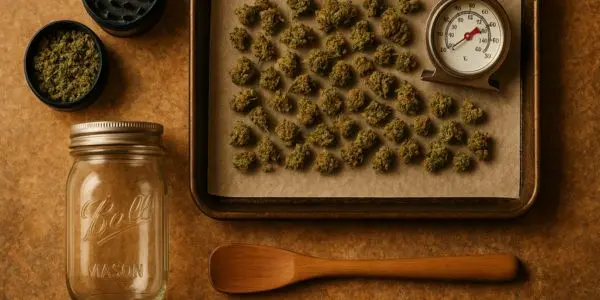
Preparation: what you need and how to prep your weed
Before you start, grab the following:
- Your cannabis (flower or trim)
- A grinder or a pair of scissors
- A baking tray
- Baking paper
- Optional: an oven thermometer (highly recommended for accurate results!)
- Optional: aluminium foil
Here's how to prep your cannabis:
- Break it up: grind or cut your cannabis into small pieces. Aim for a consistency similar to what you'd use for a joint or pipe, not so fine it turns to powder, but not whole buds either. This ensures even heat distribution. Powder that's too fine can burn more easily.
- Spread it out: place the baking paper on the tray and spread the broken-up cannabis evenly over it. A thin layer is ideal.
Step-by-step instructions (temperature, time, tips)
- Preheat the oven: heat your oven to 105°C to 115°C. If your oven is known to be inaccurate, an oven thermometer is worth its weight in gold for checking the actual temperature.
- Cover (optional, but recommended): you can loosely cover the cannabis with aluminium foil. This helps keep the temperature more even and offers some protection against direct heat loss and the loss of terpenes. Make sure the foil isn't too tight so moisture can escape.
- Bake (decarboxylate): slide the tray into the preheated oven. At this temperature the decarboxylation time is usually 30 to 45 minutes.
- Turn/mix (optional): after about half the time you can carefully turn or stir the cannabis to ensure even browning and activation.
- Let it cool: take the tray out of the oven and let the cannabis cool completely before processing or storing it further. It will now have a slightly browned colour and give off a more intense, roasted smell.


How do I know my cannabis is perfectly decarboxylated?
- Colour: the cannabis should have taken on a light to medium brown, lightly toasted colour. It shouldn't be bright green any more, but definitely not dark brown or black either (that means it got too hot / too long).
- Smell: the smell changes from fresh and grassy to a nutty, roasted aroma. It should smell intense, but not burnt.
- Consistency: the material should be dry and crumbly. When you rub it between your fingers it should fall apart easily.
Pros and cons of the oven method
| Pros ✅ | Cons ❌ |
|---|---|
| Simple and accessible (almost everyone has an oven). | Temperature swings in the oven can lead to uneven decarboxylation. |
| No expensive special equipment needed. | Risk of overheating and THC breakdown (into CBN) or burning. |
| Relatively fast. | Noticeable smell in the kitchen/home. |
| Good results with proper temperature control. | Possible loss of some heat-sensitive terpenes. |
For connoisseurs: precise decarboxylation with sous-vide
If you value maximum precision, minimal terpene loss and barely any smell, then the sous-vide method is your friend. Originally from gourmet cooking, this technique is excellent for gentle cannabis decarboxylation.
Instructions and tips for sous-vide decarboxylation
You'll need:
- Your cannabis (broken up)
- A sous-vide device (immersion circulator)
- A pot large enough, filled with water
- Vacuum bags and a vacuum sealer (or high-quality zip bags with the water-displacement method)
Here's how:
- Prep & vacuum-seal: put your broken-up cannabis into a vacuum bag and seal it tightly. Make sure the material sits loosely in the bag and isn't compressed too much.
- Prepare the water bath: fill the pot with water and bring it to the target temperature with the sous-vide device. For the decarboxylation of THCA into THC, about 95°C to 100°C is ideal.
- Cook (decarboxylate): place the sealed bag into the temperature-controlled water bath. Make sure it's fully submerged. Leave the cannabis in the water bath for 60 to 90 minutes.
- Cool & dry: take the bag out of the water bath and let it cool. Open the bag and spread the cannabis out to dry if it has drawn any moisture (this should be minimal with good vacuum-sealing).
Pros and cons of the sous-vide method
Pros ✅:
- Very precise temperature control, hardly any risk of overheating.
- Maximum preservation of terpenes and cannabinoids thanks to low temperatures and a closed system.
- Almost no smell during the process.
- Very even decarboxylation.
Cons ❌:
- Special equipment (sous-vide device, vacuum sealer) required.
- More time-consuming than the oven method.
- A bit more prep work.
Fast, but risky: activating cannabis in the microwave?
The microwave promises quick decarboxylation, but ⚠️ careful: this method is by far the riskiest and least controllable. Microwaves often heat unevenly, which can cause parts of your cannabis to burn while others are barely activated. The loss of valuable cannabinoids and terpenes is very likely here.
If you still want to try it (at your own risk!):
- Break up your cannabis coarsely.
- Put it in a microwave-safe dish.
- Heat it in very short intervals (10-20 seconds) on a low to medium setting.
- Stir after each interval and check the state (smell, colour).
- The whole process shouldn't take longer than 1-3 minutes.
We'd rather advise against this method if you care about quality and consistency. For quick experiments it may be an option for some, but don't expect optimal results.
Gentle & tried-and-true: the water-bath method (double-boiler principle)
Similar to sous-vide, but without special equipment, the water-bath or double-boiler method is a gentle way to activate your cannabis. You'll need:
- Two pots (a larger one and a smaller one that fits inside) OR a pot and a heat-resistant, sealable jar (e.g. a mason jar).
- Your broken-up cannabis.
Here's how (with a mason jar):
- Put your broken-up cannabis into the clean, dry mason jar and seal it well.
- Place the jar in a pot and add enough water so the jar stands in the water up to about two-thirds.
- Slowly heat the water until it simmers gently (about 95°C - 100°C). Make sure no water gets into the jar.
- Let the cannabis "steep" in the hot water bath for about 60-90 minutes. Open the jar occasionally to release pressure (⚠️ careful, hot steam!).
- Carefully take the jar out of the water, let it cool and remove your decarboxylated cannabis.

Pros: gentler than the oven, less smell (if the jar seals well), no special equipment.
Cons: takes longer, temperature control less precise than sous-vide.
💡 DECARB CHEAT SHEET #2: method quick-check
| Method | Temperature | Duration | Effort | Pro ✅ | Con ❌ |
|---|---|---|---|---|---|
| Oven | 105-115°C | 30-45 min | Low | Simple, fast, no special equipment | Imprecise, smell, possible terpene loss |
| Sous-vide | 95-100°C | 60-90 min | Medium | Precise, gentle, barely any smell | Special equipment needed, time-consuming |
| Microwave | Low/medium | 1-3 min (short intervals) | Very low | Very fast | Risky, uneven, high compound loss |
| Water bath | approx. 95-100°C (simmering) | 60-90 min | Low | Gentle, less smell, no special equipment | Longer, less precise than sous-vide |
Method comparison at a glance (table: temperature, time, effort, pros/cons)
The table above gives you a quick overview to pick the method that suits you best for cannabis decarboxylation. Weigh up what matters more to you: speed, precision, smell or preserving as many terpenes as possible.
Temperature and time: the secret ingredients for successful decarbing
You've probably noticed by now: temperature and time are the two levers that decide whether your decarboxylation succeeds or fails. Getting them wrong can mean the difference between perfectly activated material and a disappointing experience.
The optimal temperature: THC vs. CBD and protecting the terpenes
There's no single perfect temperature, because different cannabinoids and terpenes react at different temperatures.
- For THC activation: most sources recommend temperatures between 105°C and 120°C. In this range THCA is efficiently converted into THC without significant breakdown.
- For CBD activation: CBDA tends to need slightly higher temperatures or longer times. Temperatures around 120°C to 140°C are often mentioned, but caution is advised here so as not to destroy other valuable compounds.
- Terpenes: these aromatic compounds are very volatile and heat-sensitive. Many terpenes start to evaporate at temperatures above 100°C. Gentler methods with lower temperatures (like sous-vide or the water bath) have a clear advantage here if you want to preserve the full aroma profile.
As a general rule: better to use slightly lower temperatures with a longer exposure time to protect cannabinoids and terpenes.
Typical mistakes and how to avoid them (too hot, too short & co.)
- Too hot / too long: your cannabis burns, THC breaks down into CBN (cannabinol, which is more sedating), and valuable terpenes are lost. The result is less potent and doesn't taste good.
- Prevention: use an oven thermometer! Stick to the recommended times.
- Too cold / too short: decarboxylation is incomplete. A large part of the THCA stays THCA, and the desired effect doesn't materialise.
- Prevention: allow enough time, keep to the recommended minimum temperatures.
- Uneven heat: parts of the material are perfect, others burnt or still raw.
- Prevention: break the cannabis up well and spread it evenly. In the oven, cover and turn it if needed.
- No preheating: the stated time only starts once the oven has reached the target temperature.
- Prevention: be patient and let the oven preheat fully.
An oven thermometer really is your best friend for avoiding many of these mistakes during decarboxylation in the oven!
Decarb hacks: your tricks for less smell and better results
Besides the basic methods, there are a few tricks that can make decarboxylating cannabis easier and improve your results.
Place reeks? Here's how to minimise the smell while decarbing!
One of the biggest downsides, especially with the oven method, is the intense smell that can settle throughout your home. Here are a few strategies against it:
- Mason-jar method in the oven: put your broken-up cannabis into an oven-safe mason jar, seal it (not super-tight, so excess pressure can escape!) and place it in the oven like that. Most of the smell stays in the jar. Let the jar cool completely before opening it, ideally outside or under the extractor hood.
- Sous-vide or water bath: these methods are inherently very low-odour, since the cannabis is in a closed bag or jar.
- Ventilate well: open windows and create a through-draught. An extractor hood on the highest setting can also help.
- Odour neutralisers: after the process, special odour neutralisers or home remedies like a bowl of vinegar or coffee grounds can help absorb lingering smells.
- Timing: if possible, decarboxylate at times when it's less disruptive (e.g. when nobody's home).
The right tools: which containers and aids are worth it?
- For the oven:
- Baking tray: standard.
- Baking paper: prevents sticking and makes cleaning easier.
- Oven-safe glass or ceramic dishes: good heat conduction, easy to clean. Make sure they're suitable for the temperatures.
- Mason jars: great for minimising smell (see above). Choose ones without a rubber seal or remove it if you're unsure whether it can take the heat.
- For sous-vide/water bath:
- Vacuum bags: food-safe and heat-resistant.
- High-quality zip bags: if you don't have a vacuum sealer, make sure they're BPA-free and suitable for higher temperatures.
- Mason jars: as above.
- Generally useful:
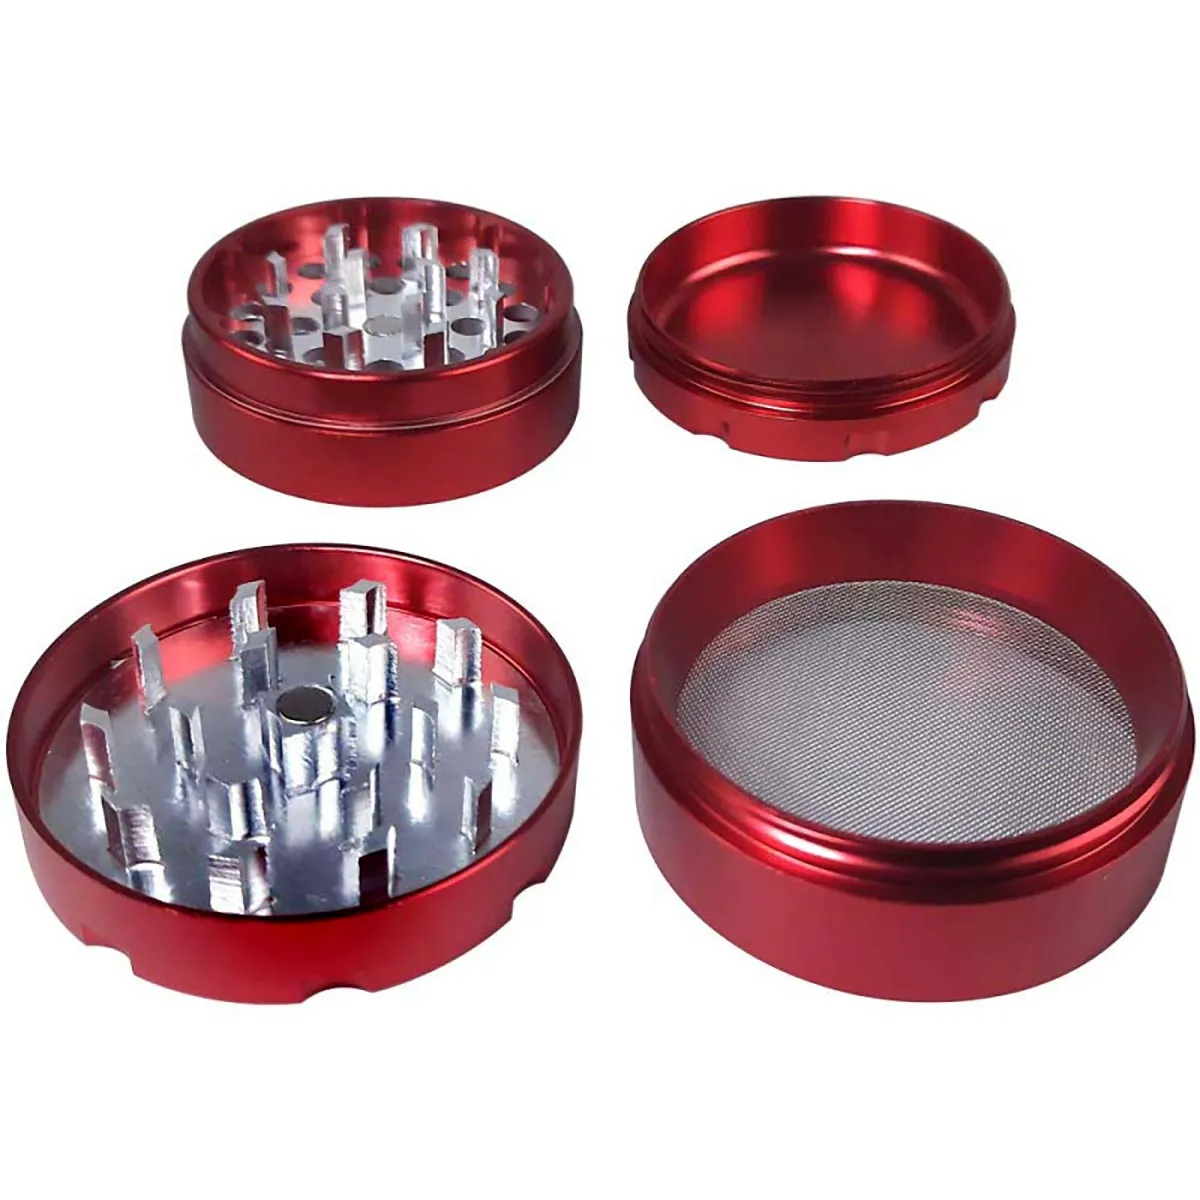
- Grinder: for even breaking-up.
- Oven thermometer: indispensable for accurate temperature control in the oven.
- Precision scale: to weigh your amounts accurately.
- Smoking device: are you more team bong or team joint?
To grind or not to grind? Preparing your cannabis
Yes, a certain amount of breaking-up is recommended. Whole buds wouldn't reach the necessary temperature evenly and quickly enough on the inside.
- Ideal: break your cannabis down to a medium consistency, roughly as if you were preparing it for a joint. It shouldn't be ground to powder (risk of burning, harder to handle), but it also shouldn't contain any large chunks.
- Why? A larger surface area allows for more efficient and even heat transfer, and therefore a more complete decarboxylation.
Safety first: handling heat and equipment safely
Even though it's a simple process, always work carefully:
- ⚠️ Hot surfaces: baking trays, pots and jars get very hot. Always use oven gloves or pot holders.
- ⚠️ Steam: hot steam can escape when opening hot jars or bags. Careful!
- ⚠️ Stability: make sure pots and containers stand securely and can't tip over.
- ⚠️ Children and pets: keep them away from the kitchen during the process.
💡 DECARB CHEAT SHEET #3: pro tips for top results
- Anti-stink trick: decarboxylate in a sealed mason jar in the oven or use sous-vide/water bath for minimal smell.
- Accuracy is king: an oven thermometer is your best friend for the oven method.
- Break it up right: a medium-coarse consistency is optimal for even heat distribution. Don't grind to powder!
- Mind your safety: hot surfaces and steam call for caution.
Storing your activated treasure: keeping it fresh and potent
Congratulations, your cannabis is now perfectly decarboxylated and ready to use! But how do you best store it so it keeps its potency and freshness?
- Airtight: the most important factor! Oxygen is the enemy of THC and other cannabinoids, as it contributes to their breakdown. Use airtight containers, ideally glass (e.g. mason jars with a clip or screw lid).
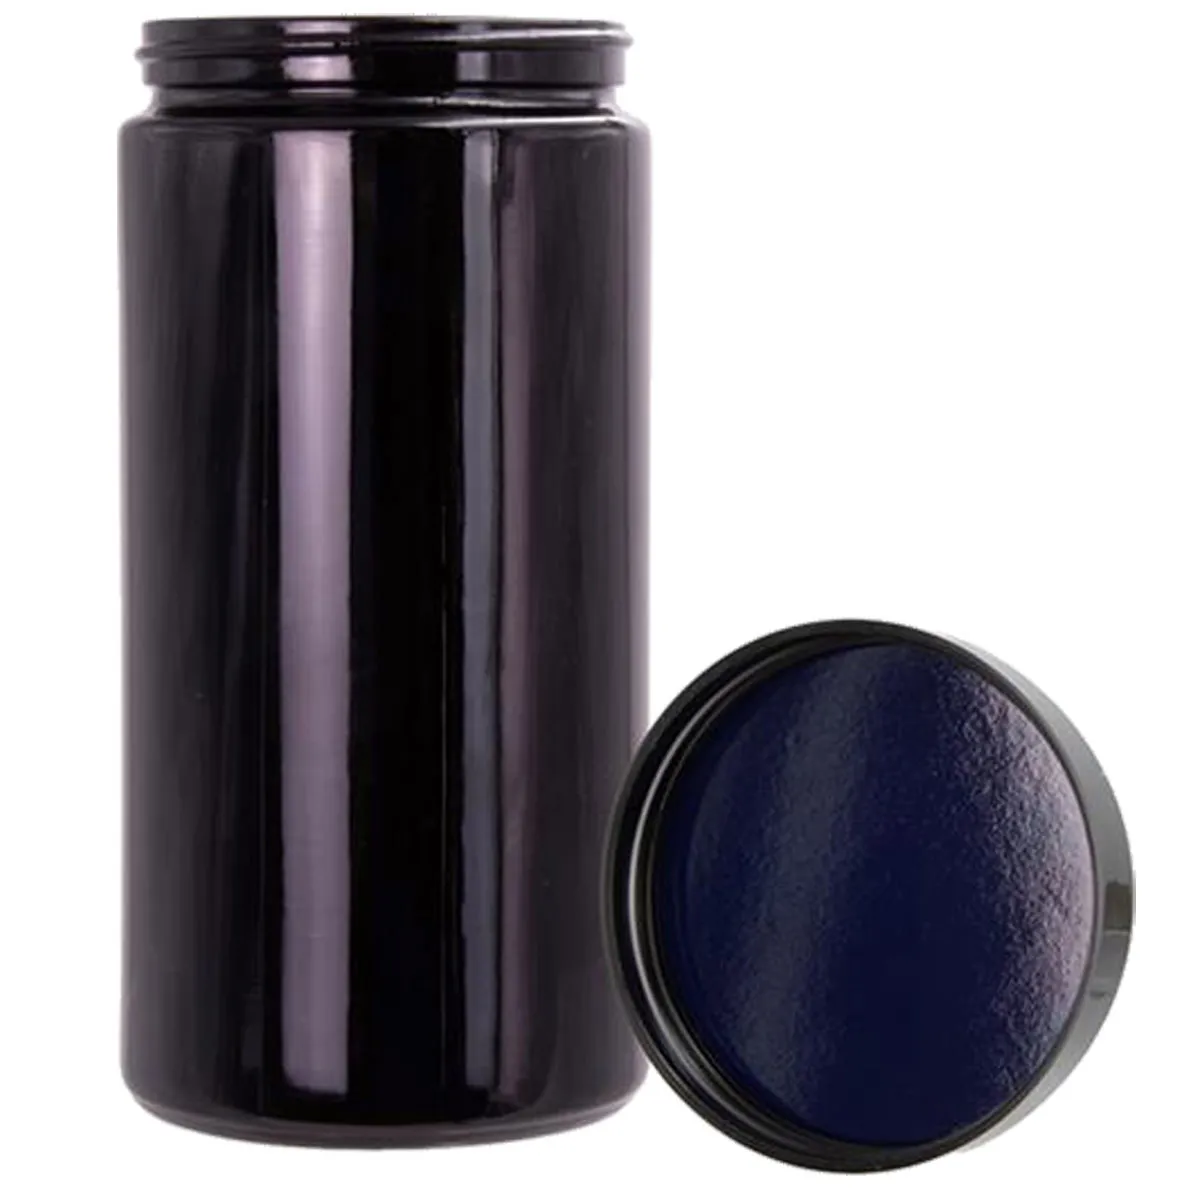
- Dark: light, especially UV light, also degrades THC. Store your decarboxylated cannabis in a dark place (e.g. in a cupboard or drawer). Amber or violet glass containers offer extra protection.
- Cool: heat speeds up the breakdown process. A cool spot is ideal, but the fridge is usually not necessary and can cause moisture problems, unless the material is absolutely dry and the container perfectly sealed. Room temperature in a dark place is often enough.
- Dry: make sure your cannabis is completely dry after decarbing before storing it, to avoid mould.
Shelf life: stored properly, decarboxylated cannabis can keep its potency for several months, sometimes even up to a year or longer. Over time, though, it will slowly lose effect, as THC gradually breaks down into CBN.

Decarbed, now what? Creative ideas for your activated cannabis
Your freshly activated cannabis is a versatile ingredient! Here are a few ideas for what you can do with it:
Base for edibles: making cannabis butter and oil
The classic! Decarboxylated cannabis is the perfect base for making potent cannabis butter (cannabutter) or cannabis oil. These can then be used as an ingredient in almost any recipe, from brownies and cookies to savoury dishes.
💡 Tip: when making butter or oil, be careful not to overheat the cannabis again, to protect the already activated compounds. Slow simmering at a low temperature is the key here.
Strong & effective: making your own cannabis tinctures
Tinctures are a discreet and easy-to-dose way to consume cannabis. Put your decarboxylated cannabis into high-proof alcohol (e.g. grain spirit) and let it steep for a few weeks in a dark place. Shake occasionally. Then strain, and your potent tincture is ready!
More ideas: from capsules to...?
- Direct consumption (with caution): in theory you could also eat decarboxylated cannabis directly (e.g. mixed into a yoghurt). The taste, however, is very intense and not for everyone. Dosing is tricky here too.
- Making your own capsules: mix decarboxylated cannabis (finely ground and combined with a little coconut oil, if you like) and fill it into empty gelatine or veggie capsules. This allows for very precise dosing.
- As a "seasoning": sprinkle a small amount over your food (pizza, pasta etc.). Start with very small amounts!
- Topical applications (balms): although decarboxylation isn't always strictly necessary for pure skin application, activated cannabis can also be worked into homemade balms or creams.
Careful, edibles! Effect, dosing and respect for time
If you use your decarboxylated cannabis for edibles, there are a few important things to keep in mind, especially if you're new to this world:
- Delayed onset: unlike smoking or vaping, where the effect kicks in almost immediately, it takes considerably longer with edibles. It can take 30 minutes up to 2 hours (or sometimes even longer!) before you feel anything. That's because the THC is absorbed via the digestive tract and metabolised in the liver.
- More intense and longer effect: the effect of edibles is often perceived as more intense and more physical, and can last considerably longer (4-8 hours or more).
- Dosing, THE GOLDEN RULE: START LOW AND GO SLOW!
- Begin with a very small dose, especially if you're unsure or trying a new recipe/product. 5-10 mg THC is often already noticeable to strong for beginners.
- ⚠️ Wait at least 2 hours before even thinking about another dose! The most common mistake is getting impatient and topping up before the first dose has developed its full effect. That can quickly lead to an unpleasant overdose.
- Set and setting: make sure you're in a pleasant environment and a good mental state, especially for your first edible experiences.
Be patient and respect the power of edibles. A good experience is a safe experience!
Frequently asked questions (FAQ) about cannabis decarboxylation
Here we answer some of the most burning questions around activating cannabis:
Do I need to dry fresh cannabis before decarboxylating it?
Yes, absolutely! Fresh, moist cannabis doesn't decarboxylate properly. The moisture hinders the process and can lead to uneven results. Your weed should be well dried and ideally cured too.
Can I also decarboxylate hash or kief?
Yes, you can. The principles are the same. Since hash and kief are more concentrated, you should adjust the amounts accordingly and possibly shorten the time a little or lower the temperature slightly to avoid burning. Spread it thinly too.
What happens if I don't decarboxylate cannabis and use it for edibles?
You'll probably feel little to no psychoactive effect. In that case you're mainly consuming THCA, which isn't intoxicating.
Can I smoke or vape decarboxylated cannabis?
Yes, you can. It will work. Some find the taste a bit different (more roasted). The main benefit of decarboxylation, though, lies in preparing it for oral/topical products.
How long does decarboxylated cannabis keep?
Stored properly (see above) several months to over a year, with potency slowly decreasing.
At what temperature does THC decarboxylate best?
Usually 105°C to 115°C is optimal for a good balance between activation and preserving terpenes.
Does it make a difference whether I decarboxylate sativa or indica?
No, the process of decarboxylation itself is the same for all cannabis varieties. The different effects of the strains remain preserved through their specific cannabinoid and terpene profiles.
💡 DECARB CHEAT SHEET #4: your roadmap to success
- Understand: you now know what decarboxylation is and why it rocks.
- Prepare: break up the weed, check your equipment.
- Choose a method: oven for simplicity, sous-vide for perfection, water bath as a compromise.
- Master temperature & time: accuracy is decisive, not too hot, not too short!
- Use the hacks: minimise smell, store correctly.
- Get creative: edibles, tinctures & co. await you.
- Enjoy safely: especially with edibles, start slow!
Conclusion: decarbing made easy, take your weed to the next level!
As you can see, cannabis decarboxylation is no black magic, but a relatively simple process with an enormous impact. With the right knowledge and a little practice, you'll turn your cannabis flower into a potent base for countless applications. Whether you want to conjure up delicious edibles, make effective tinctures or simply get the most out of your material, activating your cannabis is the key.
Don't forget the most important points: choose the method that suits you, pay meticulous attention to temperature and time, and remember proper storage. And very importantly: if you venture into edibles, start slow and be patient.
Now you're perfectly equipped to decarboxylate your weed and take your cannabis experience to a new level. Have fun experimenting!